Installing a Blink doorbell can enhance your home security and convenience. Understanding the wiring diagram is crucial for a smooth installation process. This guide will help you navigate the setup with ease.
Proper wiring ensures your Blink doorbell functions correctly. A clear wiring diagram simplifies the installation, making it accessible even for those with minimal technical skills. Let’s dive into the essential details you need to know.

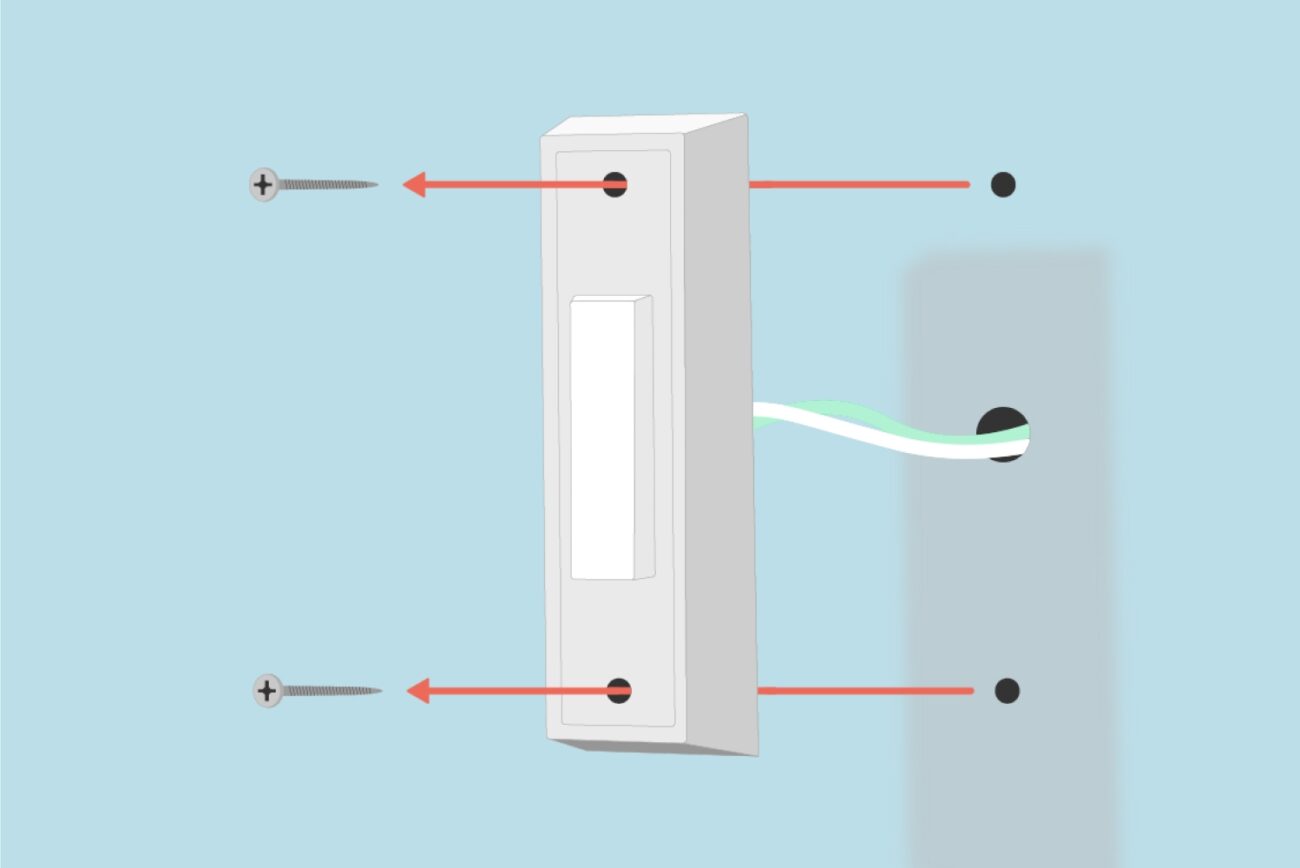
Blink Doorbell Wiring Diagram
Blink Doorbell Wiring Diagram
The Blink doorbell typically requires a low-voltage power source. Most models operate on 16-24 volts, which is standard for doorbell systems. Always check your existing wiring to ensure compatibility before proceeding.
When examining the wiring diagram, identify the transformer connections. The diagram will show how to connect the wires from your existing doorbell to the Blink device. Following these instructions carefully will prevent any electrical issues.
Additionally, ensure that you have all necessary tools ready for installation. Common tools include wire strippers, a screwdriver, and electrical tape. Having everything on hand will make the process smoother and quicker.
After completing the wiring, test your Blink doorbell to confirm it’s working correctly. A successful installation means you can enjoy enhanced security and convenience at your doorstep without any hassle.
Understanding the Blink doorbell wiring diagram is essential for a successful installation. With the right knowledge and tools, you can set up your device confidently and enjoy peace of mind in your home.