Understanding electrical wiring can seem daunting, but with the right guidance, it becomes manageable. One common task many homeowners face is wiring a single pole switch, which controls a light or fixture from one location.
Learning how to wire a single pole switch not only enhances your DIY skills but also empowers you to tackle home improvement projects confidently. This knowledge can save you time and money on simple electrical tasks.

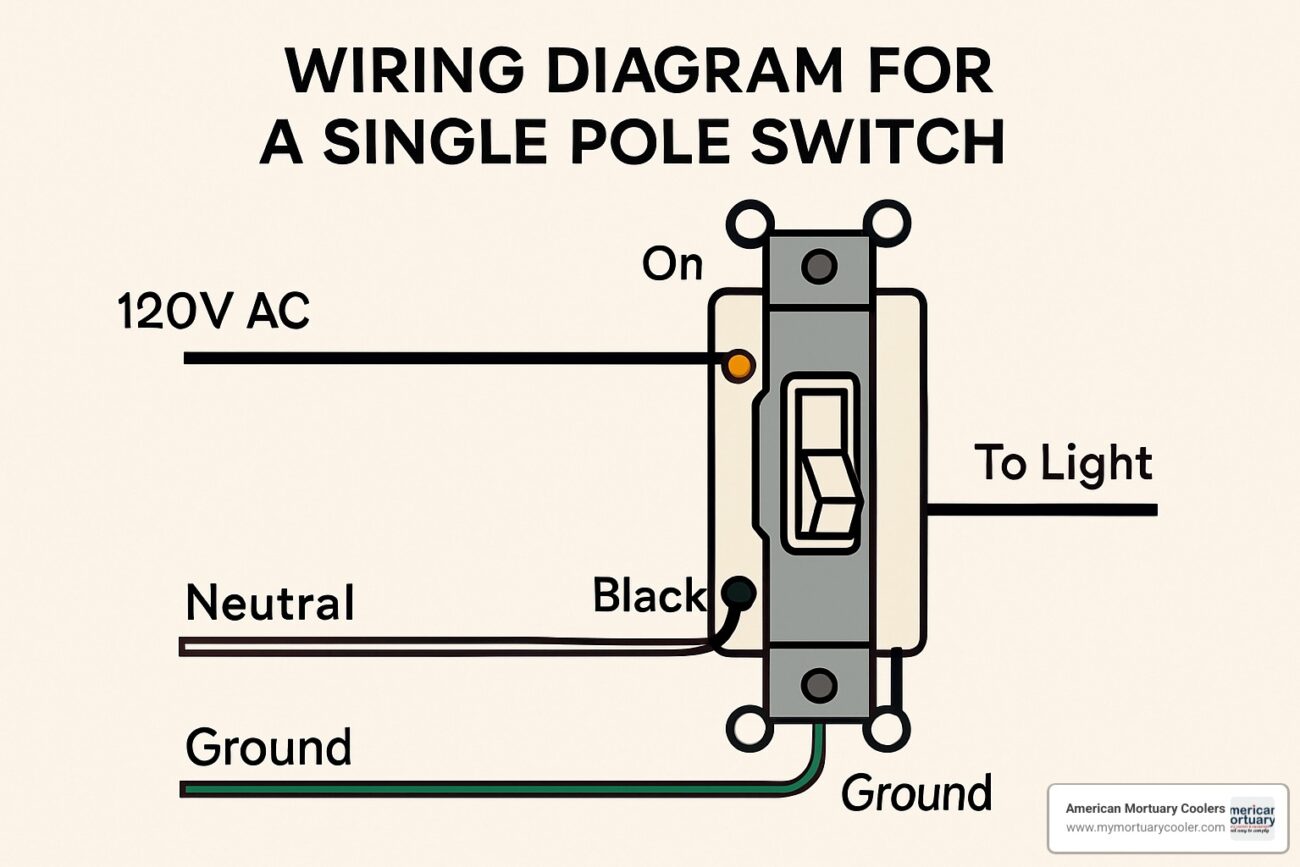
Wiring A Single Pole Switch Diagram
Wiring A Single Pole Switch Diagram
A single pole switch is straightforward, featuring two terminals. The diagram typically shows the power source, the switch, and the light fixture. Understanding this layout is crucial for successful installation.
To begin, turn off the power at the circuit breaker. This ensures safety while working on electrical components. Next, connect the black wire from the power source to one terminal of the switch.
Then, attach another black wire from the second terminal of the switch to the light fixture. Finally, connect the white wire from the power source directly to the light fixture. This completes your circuit.
After making all connections, double-check your work before turning the power back on. If everything is connected correctly, your switch should operate smoothly, allowing you to control your light effortlessly.
Wiring a single pole switch is a valuable skill that can enhance your home’s functionality. With practice and attention to detail, you’ll find this task easy and rewarding, making future projects even simpler.